ສະບາຍດີ ມື້ນີ້ມີໂອກາດໄດ້ເຮັດ ESP8266 ກັບ Blynk ແລະ ມີປັນຫາກັບ USB- UART ເລີຍມາຂຽນບັນທຶກໄວ້ເພື່ອແບ່ງປັນແລະກັນລືມ
ເນື່ອງຈາກ ວ່າລຸງໃຊ້ Mac ເປັນເຄື່ອງເດັບ ເລີຍຊິອະທິບາຍເປັນ Mac Version
ກ່ອນອື່ນລົງ Arduino IDE + ESP8266 Lib
Download Arduino IDE ຈາກບ່ອນນີ້ https://www.arduino.cc/en/Main/Software ແລ້ວຕິດຕັ້ງ
ຈາກນັ້ນ ກໍໄປຕັ້ງຄ່າຕາມນີ້
Open you IDE and click on "File -> Preferences".
In  "Aditional Boards Manager URLs" add this line and click on "OK":

"http://arduino.esp8266.com/stable/package_esp8266com_index.json"

Go to "Tools -> Board -> Boards Manager", type "ESP8266" and install it.

Go again to "Tools -> Board" and select "Generic ESP8266 Module".
ຫລັງຈາກນັ້ນກໍ ໄປ ໂຫລດ USB2UART Driver ມາ ຈາກບ່ອນນີ້
https://www.silabs.com/products/development-tools/software/usb-to-uart-bridge-vcp-drivers
ສຳລັບແມັກ ແມ່ນຕ້ອງໄດ້ໄປເປີດ Permission ໃຫ້ມັນກ່ອນ
ຫລັງຈາກນັ້ນກໍ ໄປລອງຂຽນ Blynk ຕາມນີ້ເດີ້ https://www.blynk.cc/getting-started/
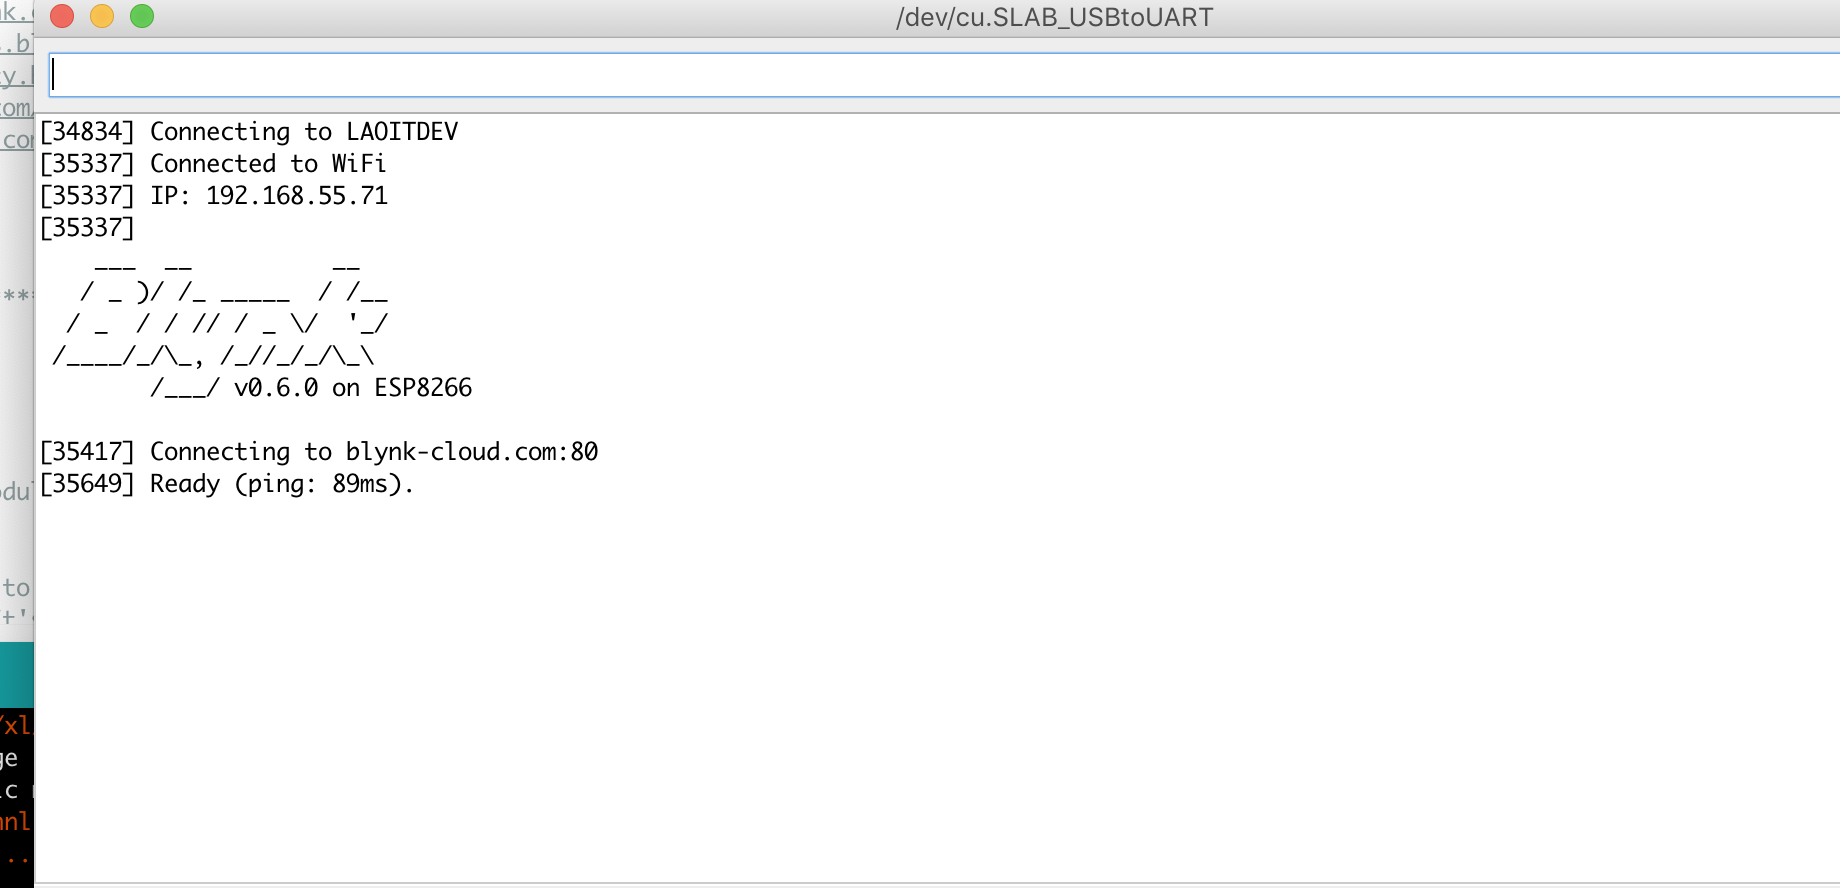
ອັນນີ້ແມ່ນ ໂຕຢ່າງ Code ຈາກ Blynk ທີ່ສະແດງ IP ອອກມາໃຫ້ນຳ ໃນ Serial monitor ເພາະລຸງຕ້ອງການ IP ໄປ Allow ຢູ່ Firewall
/ Comment this out to disable prints and save space /
#define BLYNK_PRINT Serial
#include <ESP8266WiFi.h>
#include <BlynkSimpleEsp8266.h>
// You should get Auth Token in the Blynk App.
// Go to the Project Settings (nut icon).
char auth[] = "Blynk Token";
// Your WiFi credentials.
// Set password to "" for open networks.
char ssid[] = "WIFINAME";
char pass[] = "WIFIPASSWORD";
void setup()
{
// Debug console
Serial.begin(9600);
Blynk.begin(auth, ssid, pass);
}
void loop()
{
Serial.println();
IPAddress myip = WiFi.localIP();
Serial.print("IP address in IPAddress format: ");
Serial.println(myip);
delay(100);
Blynk.run();
}
Credit @xangnum @Tock
